


Are you fed up with the monthly trips to the salon for waxing? Do you wish to get your hair removed at home with natural ingredients? If yes, look no further than DIY sugar wax. This simple, homemade hair removal method is not only cost-effective but also gentle on your skin. In this article, we’ll explain the process of making your sugar wax, offer tips for successful waxing, and share some aftercare advice to keep your skin smooth and healthy.
Table of Content:-
What Is Sugar Wax?
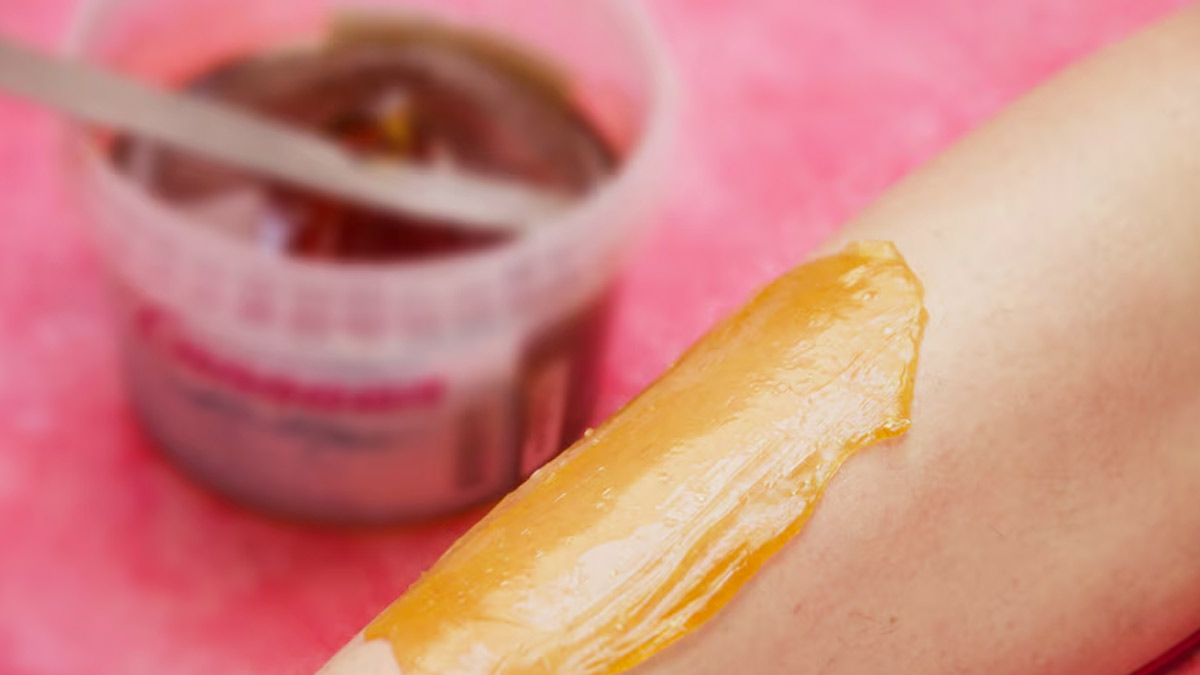
Sugar wax is a traditional hair removal method made from natural ingredients, making it a more skin-friendly option. It’s a blend of sugar, lemon juice, and water that is heated until it turns into a sticky, flexible substance. When applied to the skin, it adheres to the hair, pulling it out from the root when removed.
According to a 2022 study, sugar waxing is highly effective for hair removal and reducing hair thickness, offering benefits like less skin dryness, redness, and pore irritation compared to hard waxing. However, proper follow-up care remains crucial.
Also Read: Beeswax For Skin Care: Here's How Beeswax Can Promote Skin Health
Benefits of Using Sugar Wax
- Natural Ingredients: Sugar wax is made from basic kitchen ingredients, free from synthetic chemicals
- Less Painful: Sugar wax adheres only to the hair, not the skin, which can make the hair removal process less painful compared to traditional waxing methods
- Exfoliates Skin: The sugar in the wax also acts as a mild exfoliant, helping to remove dead skin cells
- Easy Cleanup: Sugar wax is water-soluble, therefore, it can be easily cleaned up with warm water
How to Make DIY Sugar Wax
Here’s a step-by-step guide to making your own sugar wax at home:
Ingredients
- 1 cup granulated sugar
- 2 tablespoons lemon juice
- 2 tablespoons water
Things You Will Need
- A medium saucepan
- A spoon or spatula for stirring
- A heat-resistant bowl
- Waxing strips
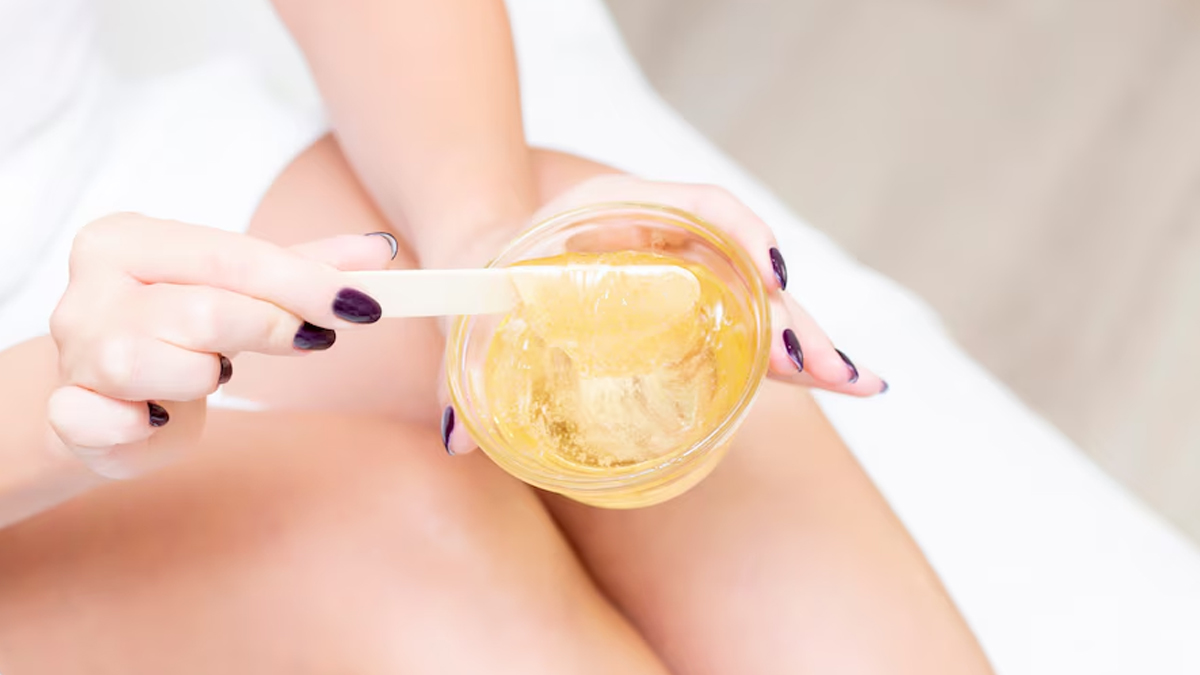
- A spatula or popsicle stick
Instructions
- Start by mixing sugar, lemon juice, and water in a medium saucepan. Stir well to mix the ingredients.
- Turn the stove to medium heat and place the saucepan on it. Stir the mixture constantly to ensure the sugar doesn’t burn. You’ll see the sugar begin to dissolve and the mixture will start to bubble.
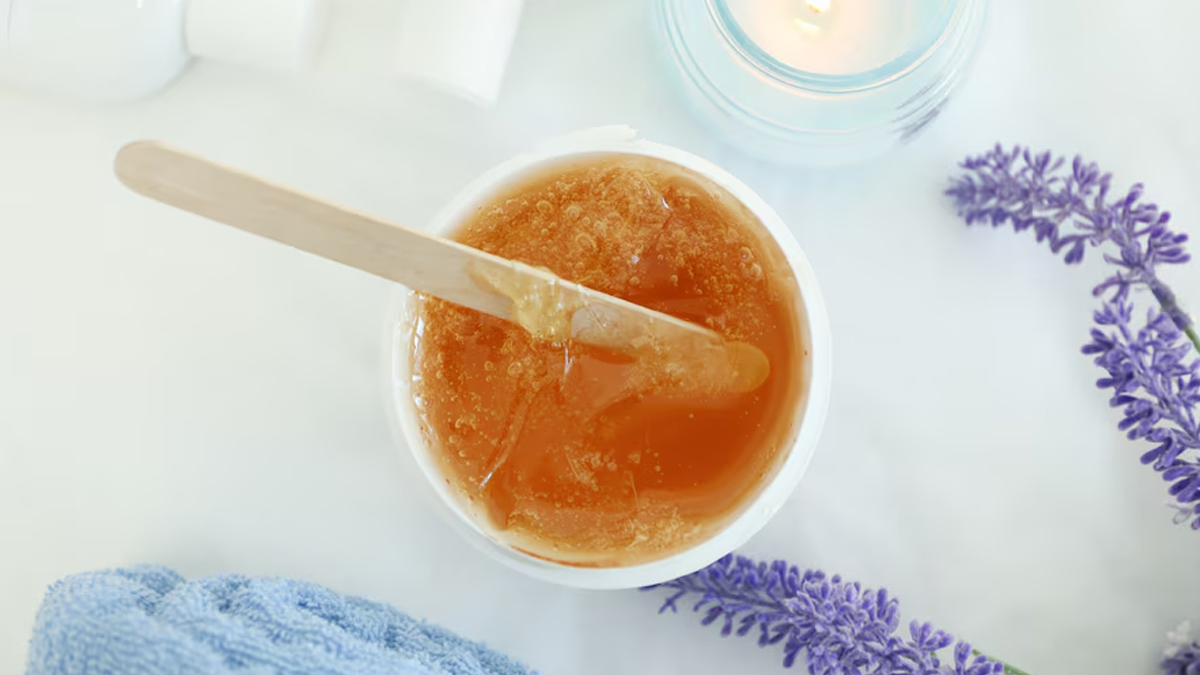
- Allow the mixture to heat until it achieves a golden amber tint. This should take about 8-10 minutes. Be careful not to overcook it, as it can become too hard to use.
- Once the wax has reached the desired colour, remove it from the heat and let it cool for a few minutes in a heat-resistant bowl. Apply a little wax to the back of your hand to check its temperature; it should be warm but not too hot.
- If you’re using waxing strips, cut them to size and have them ready. You’ll also need a spatula or popsicle stick for applying the wax.
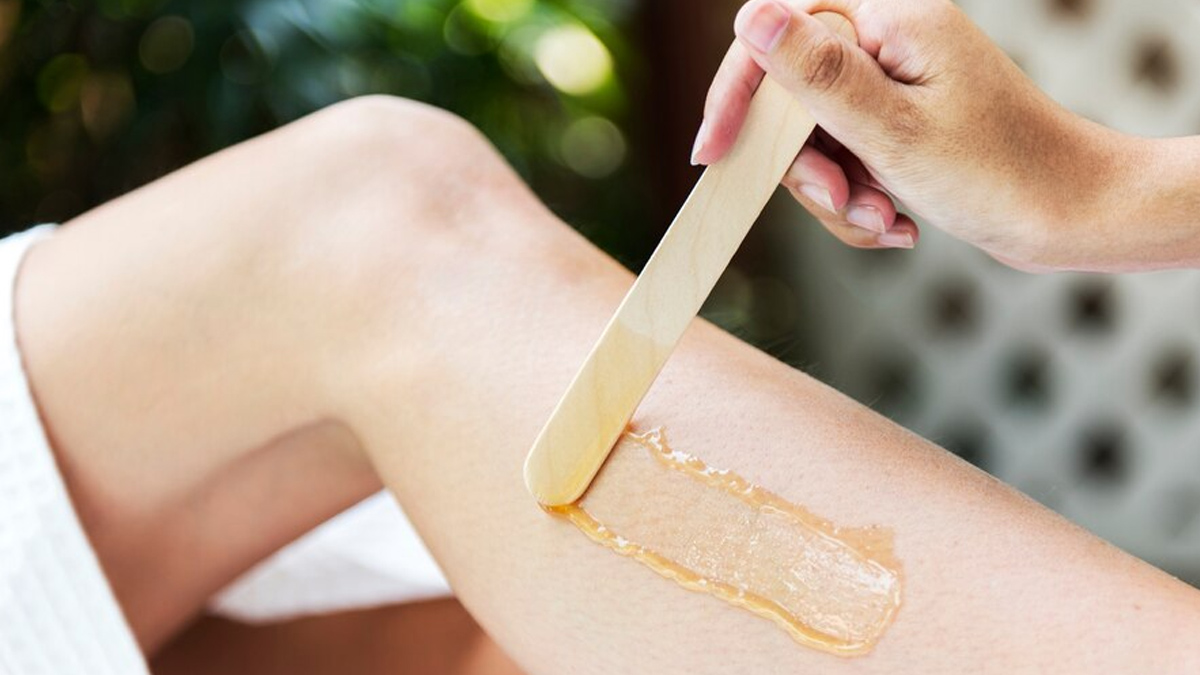
- Using the spatula, spread a thin layer of wax onto the area you wish to treat, following the direction of hair growth. Place a waxing strip over the wax, press down firmly, and smooth it out.
- Stretch the skin and pull the strip off quickly in the opposite direction of hair growth. Make sure to pull the strip close to the skin for the best results.
- Continue the process on the remaining areas until you’ve removed all unwanted hair.
Also Read: Safe Hair Removal Tips: Here’s How You Can Minimise Skin Damage After Waxing Your Face
Tips for Successful DIY Sugar Waxing
- Test the Wax Temperature: Always test the temperature of the wax to avoid burns
- Exfoliate Before Waxing: Exfoliating your skin a day before waxing helps remove dead skin cells and reduces the risk of ingrown hairs
- Apply in Small Sections: Work in small sections for better control and more effective hair removal
- Avoid Waxing Over Broken Skin: Do not wax over cuts, bruises, or sunburned skin
Aftercare Tips You Should Follow
After waxing, your skin may be sensitive, so proper aftercare is essential:
- Moisturise: Apply a gentle, hydrating lotion or aloe vera gel to soothe the skin.
- Avoid Heat: Refrain from hot baths, saunas, or sun exposure for at least 24 hours.
- Exfoliate Regularly: Gentle exfoliation helps prevent ingrown hairs.
[Disclaimer: This article contains information for informational purposes only, hence, we advise you to consult your own professional if you are dealing with any skin issues to avoid complications.]
Also watch this video
How we keep this article up to date:
We work with experts and keep a close eye on the latest in health and wellness. Whenever there is a new research or helpful information, we update our articles with accurate and useful advice.
Current Version