


You scrub, moisturise and treat the skin on your face, but what about the skin that lies under your hair? If you are struggling with a continuous battle of breakouts, redness, or pinpoint bumps along your hairline, temples, or scalp, the cause may not be in your shampoo or conditioner but your dirty hairbrush.
Table of Content:-
While your hairbrush is a must-have for detangling and styling, it gathers more than loose hair, with each stroke. And, overtime this accumulation converts a useful accessory into a haven for gunk that can actively harm your scalp and skin health. So, we decided to reach out to our expert, Dr Pravin Banodkar, MBBS, DNB, DD (UK), FIDP Dermatology, Co-Founder and Lead Dermatologist of Skin Beyond Borders, Mumba and here's an in-depth explanation of how your dirty hairbrush can cause scalp breakouts and, more importantly, how to end the cycle.
Expert Shares What Hides In Your Hairbrush?
“A hairbrush is a magnet for several different kinds of residue, all of which can help clog pores and cause irritation when continuously cycled back onto your scalp and skin,” Dr Banodkar shared. This gunk consists of:
- Sebum and Natural Oils: The scalp is designed to secrete sebum, an oil. Your brush picks up this oil every day, and when you brush, you are just depositing old, oxidised oil onto your newly cleaned skin.
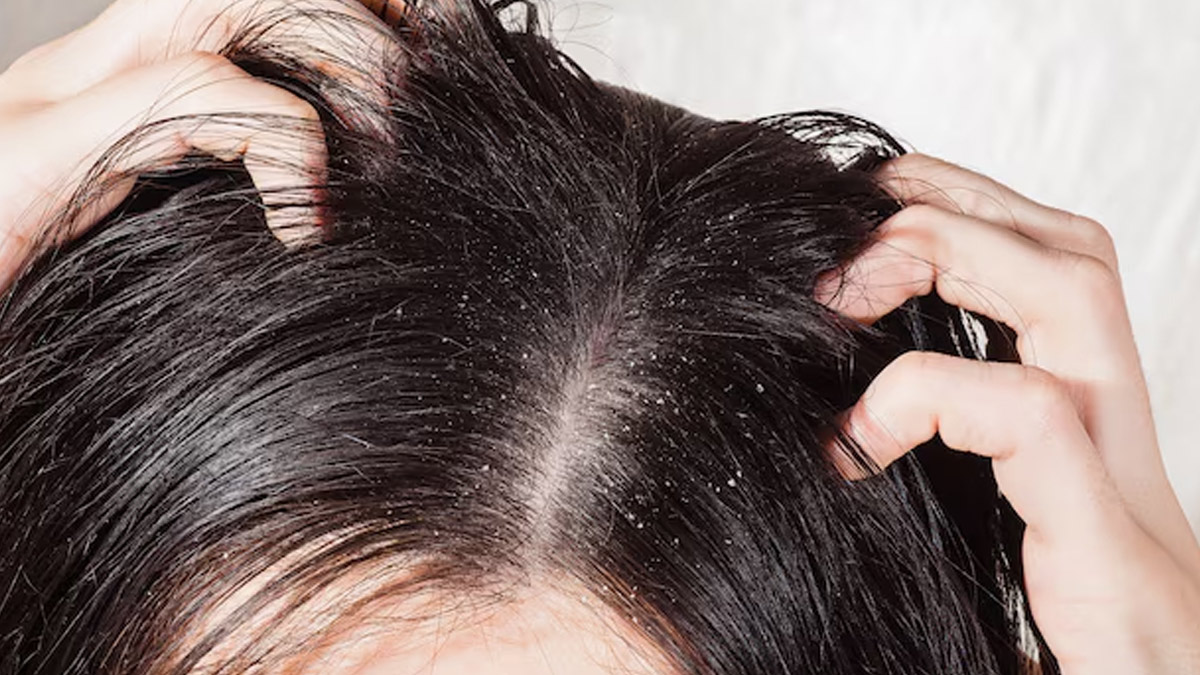
- Dead Skin Cells: As with the rest of your body, your scalp sheds dead skin cells. These combine with oil and hair product residue to form a pore-blocking paste deep in the base of the brush.
- Residue from Hair Products: Mousse, hairspray, dry shampoo, gels, and styling creams deposit a tacky residue on the bristles. These products often include oils, silicones, and film formers that are prone to clogging hair follicles, a condition referred to as folliculitis or scalp acne.
- Dust and Environmental Grime: Pollutants, dust mites, and environmental grime accumulate on your brush, contributing to the buildup that can bother sensitive skin.
- Bacteria and Yeast: Warm, damp bathroom conditions, along with oil and dead skin cells, provide the ideal breeding grounds for bacteria and yeast, causing inflammation, itchiness, and breakouts.
Also Read: Always Getting Sick On Your Off Days? There Might Be A Reason Behind It
How Oil Buildup Causes Scalp Breakouts
“When you brush your clean hair and scalp using a brush coated in this gunk, you are, in effect, immununf your hair and scalp with filth,” he added. This can lead to breakouts in several ways:
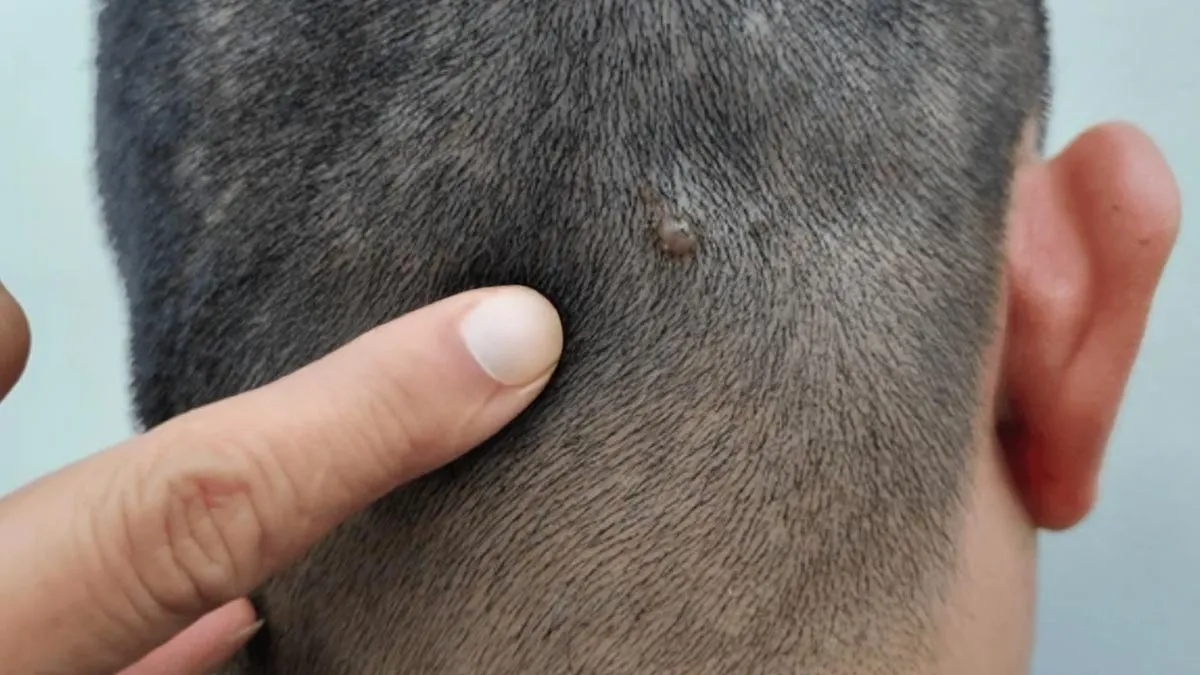
- Blocked Pores: The constant swapping of stale oil and tacky product buildup directly jams the hair follicles (pores) on your scalp and hairline, which are as susceptible to breakouts as the skin on your face.
- Overgrowth of Bacteria: Bringing a high level of bacteria or yeast from a grimy brush can upset the natural microbiome of the scalp, causing inflammation and infection in the hair follicle.
- Contact Dermatitis: For individuals with sensitive skin, buildup of oxidising, old styling product ingredients on the brush can create an allergic or irritant reaction upon contact with the skin, resulting in redness, itching, and bumps.
Signs Your Hairbrush is the Cause of Scalp Breakouts
Your hairbrush is simple to ignore, but there are obvious signs that it's time for a cleaning:
- Greasy Hair, Post-Brush: Your hair is oily or flat directly after brushing, even when you've just washed it.
- Visible Grime: A dusty or greyish film is visible at the base of the bristles or on the cushion.
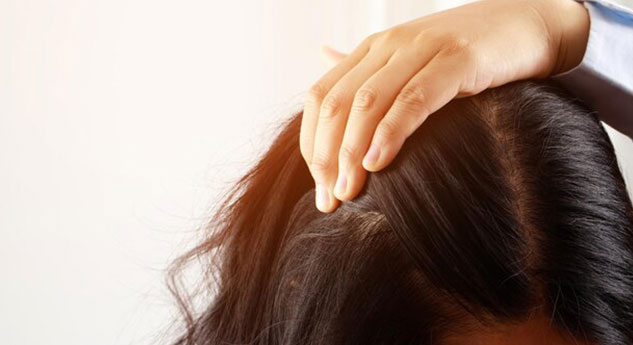
- Scalp Discomfort: You notice more itchiness, irritation, or ongoing bumps and tiny pimples along the scalp and hairline.
- Unpleasant Odour: The brush or your hair has a faintly musty smell, even when recently cleaned.
Also Read: Is Your Dirty Towel Ruining Your Skin? Find Out Here
Speedy and Thorough Hairbrush Cleansing Routine
Deep cleaning is the best means to avoid the risk of scalp breakouts. Dr Banodkar suggested a quick maintenance clean after each usage of hairbrush and a deep wash at least weekly (or every two weeks if you use very few styling products). Here’s an expert-approved step-by-step deep clean routine you can follow:
- Remove the Hair: Use a rat-tail comb, scissors, or your fingers to cut and remove all the loose hair that is stuck in the hair bristles. This lays the ground for a clean brush.
- Prepare a Cleansing Solution: Fill the basin or sink with warm water and add a few drops of a mild clarifying shampoo or soap. A teaspoon of baking soda may be added for an added antibacterial kick.
- Scrub the Base: Scrub the bristles and the base of the brush gently with an old, clean toothbrush to dislodge any hard white or grey residue.
- Rinse Thoroughly: Rinse the brush under cool, running water until all soap and residue are gone.
- Dry Completely: Shake off excess water and lay the brush bristles down on a clean towel. Allow it to air-dry completely before using it again. This prevents moisture from getting trapped in the cushion, which can lead to mould or mildew.
“Even with the most effective cleaning schedule, hairbrushes have an expiration date. Replace your brush every 6 to 12 months,” he added.
Bottomline
By making a simple routine of cleaning your hairbrush on a regular basis, you can remove a major cause of bacteria and debris that cause acne and result in a healthier scalp, clearer hairline, and better-looking hair overall.
Also watch this video
FAQ
1. How often should I really deep-clean my hairbrush to avoid breakouts?
If you style with products daily, have oily hair, or experience scalp breakouts, you need a deep clean once a week. If you only use a few products, a two-week deep clean works for most people. Always brush out loose hair after each use.2. Can a dirty hairbrush spread acne elsewhere on my face or body?
Yes. Breakouts are most frequent along the hairline and temples, but if you have long hair or bangs, oil residue from the brush, and the hair itself, can be transferred to your forehead, cheeks, and back, causing what is commonly referred to as hair-related acne.3. I have a wooden-handle brush. Is the process of cleaning different?
Yes, handle wooden or natural-bristle brushes with care. Avoid soaking them in water completely, since this can harm the wood or natural bristles. Just wet the bristles in the soapy water and clean the handle with a damp, soapy cloth. Dry it thoroughly afterwards.
How we keep this article up to date:
We work with experts and keep a close eye on the latest in health and wellness. Whenever there is a new research or helpful information, we update our articles with accurate and useful advice.
Current Version
Oct 04, 2025 02:25 IST
Published By : Tanya Srivastava