

Going to a salon every month for a manicure and pedicure may not always be feasible. The good news is that you don’t need to spend your money on these salon treatments every month. It is possible to pamper your hands and feet with easily available remedies for a DIY manicure and pedicure. In this article, we list a step-by-step guide to the perfect at-home manicure and pedicure, using readily available ingredients.
Table of Content:-
DIY Manicure And Pedicure
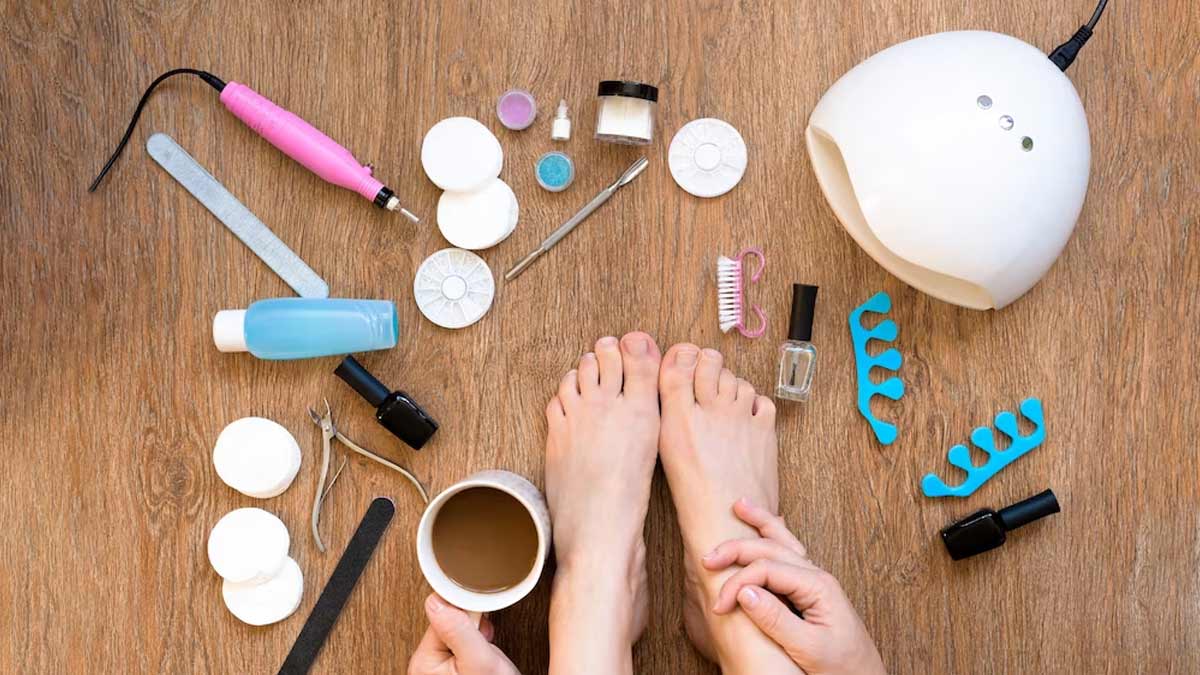
Step 1: Gather Your Supplies

- Warm water for soaking your hands and feet
- Nail polish remover to clean off any existing polish
- Nail clippers, file, and buffer for shaping and smoothing
- Cuticle oil or cream to soften and push back cuticles
- Exfoliating scrub to eliminate dead skin cells
- Moisturiser for hydration
- Base coat, polish, and top coat for the finishing touch
Step 2: Remove Old Nail Polish

Start by cleaning your nails with a quality nail polish remover to eliminate any remnants of old polish. Opt for acetone-free removers if you have sensitive nails.
Also Read: From Balanced Diet To Trimming: Follow These Tips To Strengthen Your Nails Naturally
Step 3: Soak and Relax

Fill a basin with warm water and add a few drops of your preferred essential oil or a mild soap. Soak your hands and feet for 10-15 minutes to soften the skin and nails, creating the perfect canvas for your manicure and pedicure. You can even add a tablespoon of olive oil for extra moisture.
Step 4: Shape and Buff

After the soak, gently pat your hands and feet dry. Trim your nails to your desired length using nail clippers, then shape them with a file for a clean, polished look. Finish by using a buffer to smooth the surface, creating a flawless foundation. You can enhance your nail health by rubbing a slice of lemon on your nails for natural brightening.
Step 5: Treat Your Cuticles

Apply cuticle oil or cream to each nail, allowing it to soften the cuticles. You can use an orangewood stick or a cuticle pusher to gently push back the cuticles. This step not only promotes healthy nail growth but also adds to the overall aesthetic appeal.
According to the American Academy of Dermatology Association (AAD), refrain from cutting or forcefully pushing back your cuticles to avoid infection. If you find it necessary to push them back, do so gently only after taking a shower or bath.
Also Read: Nailcare: Strengthen Your Brittle Nails With These Natural Oils
Step 6: Exfoliate and Moisturise

Utilise an exfoliating scrub to remove dead skin cells from your hands and feet. Concentrate on areas prone to roughness, such as heels and elbows. Rinse thoroughly and pat dry. Follow up with a generous application of moisturiser to maintain soft and hydrated skin. You can create a simple sugar scrub using brown sugar and olive oil for a natural exfoliating treatment.
Final Touch: Paint Your Nails

With your hands and feet primed and pampered, it's time for the finishing touch – nail polish. Begin with a base coat to protect your nails, apply your chosen polish colour, and, once dry, finish with a top coat for a sealed, glossy finish.
Tips For Long-Lasting Manicure and Pedicure
- Use gloves during household chores to prevent chipping or peeling
- Apply hand and foot cream daily to maintain soft and supple skin
- Keep your nail polish and tools within reach for quick touch-ups as needed
- Trim your nails and refresh your polish every 1-2 weeks for a polished look
- A balanced diet and hydration contribute to overall nail health
[Disclaimer: This article contains information for informational purposes only, hence, we advise you to consult your expert if you are dealing with any skin conditions to avoid complications.]
Also watch this video
How we keep this article up to date:
We work with experts and keep a close eye on the latest in health and wellness. Whenever there is a new research or helpful information, we update our articles with accurate and useful advice.
Current Version