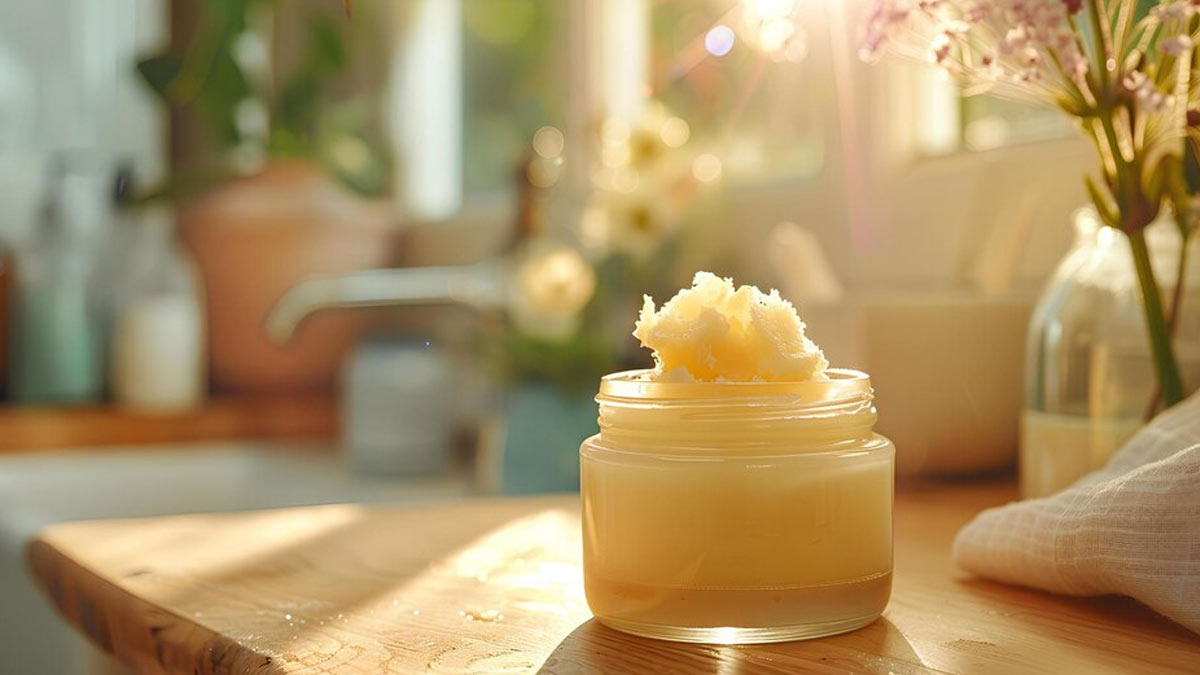
In the ever-evolving world of skincare, there’s a growing trend toward natural, DIY solutions. One such timeless gem is ghee. Ghee, often found in Indian kitchens, has been a staple in Ayurvedic medicines for centuries. Beyond its culinary uses, ghee boasts a multitude of skin benefits. Here’s how you can harness the power of ghee to create a natural DIY ghee moisturiser for attaining glowing and healthy skin.
Table of Content:-
Why Ghee?
WebMD states, ghee, or clarified butter, is rich in fatty acids, vitamins and antioxidants. These properties make it a deeply nourishing and hydrating ingredient, ideal for combating dryness and promoting healthy, glowing skin. Its anti-inflammatory and antibacterial attributes can also help soothe irritated skin and protect against infections.

Ingredients for Ghee Moisturizer
To create your own ghee moisturiser, you'll need a few simple ingredients:
- 2 tablespoons of ghee
- 1 tablespoon of organic coconut oil
- 1 tablespoon of almond oil
- A few drops of your favourite essential oil (optional)
Each of these ingredients brings additional benefits to the mix. Studies show that coconut oil is renowned for its hydrating and antibacterial properties, and proves to be a great ingredient for skin and hair care. While almond oil is packed with vitamins E, which help in maintaining smooth, clear skin. Essential oils, such as lavender or tea tree oil, can add a pleasant scent and further enhance the moisturiser's benefits.
Also read: Unveiling the Radiant Glow: Benefits Of Tulsi And How To Use It For Skin Care

The DIY Process
Ghee, coconut oil and almond oil are easily available in Indian households. On a fine Sunday, take the above mentioned ingredients and start making your own, healthy and perfect for skin moisturiser.
Step 1: In a double boiler, gently melt the ghee and coconut oil together. If you don't have a double boiler, you can use a heat-safe bowl over a pot of simmering water. Stir occasionally until the mixture is fully melted and combined.
Step 2: Once the ghee and coconut oil are melted and combined, remove the mixture from heat. Add the almond oil and stir well. This helps to incorporate all the ingredients evenly, ensuring a smooth texture.

Step 3: If you choose to use essential oils, now is the time to add a few drops. Essential oils like lavender can promote relaxation and calm skin irritation, while tea tree oil can provide additional antibacterial benefits. Stir the mixture again to distribute the essential oils evenly.
Step 4: Pour the mixture into your prepared container. Allow it to cool at room temperature until it solidifies. This may take a few hours. For quicker results, you can place the container in the refrigerator.

How to Use Your Ghee Moisturiser
Using your ghee moisturiser is simple. After cleansing your face, take a small amount of the moisturiser and warm it between your palms. Gently massage it into your skin using upward circular motions. This ensures better absorption and stimulates blood flow, giving your skin a healthy glow.
Also read: Skin Care Secrets: Benefits Of Adding Night Cream To Your Routine
Benefits of Ghee Moisturiser
Deep Hydration: Ghee penetrates deeply into the skin, providing long-lasting moisture without clogging pores.
Nourishment and Repair: The vitamins and fatty acids in ghee help repair and rejuvenate skin cells, promoting a healthy complexion.
Anti-Aging Properties: Regular use of ghee moisturiser can reduce the appearance of fine lines and wrinkles, thanks to its rich antioxidant content.
Soothing and Calming: Ghee’s natural anti-inflammatory properties make it ideal for soothing irritated or sensitive skin.
Conclusion
Creating your own ghee moisturiser is a simple and effective way to incorporate natural ingredients into your skincare routine. This luxurious blend not only nourishes and hydrates but also brings a touch of ancient wisdom to modern skincare. So why not give it a try? Your skin will thank you for it. Embrace the goodness of ghee and enjoy the journey to perfect, glowing skin!
Also watch this video
Read Next
Troubled With Redness From Pimples? Try These Home Remedies To Get Rid Of This Inflammation
How we keep this article up to date:
We work with experts and keep a close eye on the latest in health and wellness. Whenever there is a new research or helpful information, we update our articles with accurate and useful advice.
Current Version